Installation Manual
Typical use
With TK100 series routers, you can connect devices to the Internet with Ethernet, via GPRS/HSUPA/ UMTS/LTE. To ensure security and uninterrupted access, the TK100 series supports VPN connections, enabling remote access and secure data transmission over the Internet.
Connection plan
Interface |
Description |
|---|---|
Power connection |
9 - 36 V DC |
Ethernet ports |
Two 10/100 Base-TX RJ45-Ports |
Antenna connection (mobile radio) |
SMA (f) |
SIM card slot |
Two slots for SIM card insertion |
Meaning of the LED lights
Power |
Status |
Mobile |
Meaning |
|---|---|---|---|
Off |
Off |
Off |
Turned off |
On |
Off |
Off |
System error |
On |
On |
Off |
The module or SIM card is not recognized |
On |
On |
Flashing |
Dial up |
On |
On |
On |
Dial up successful |
On |
Flashing |
On |
System upgrade |
On |
Flashing->On |
Off |
Reset |
Signal strength
Color |
Signal strength |
|---|---|
Red |
Signal 0 - 10 |
Yellow |
Signal 11 - 20 |
Green |
Signal 21 - 30 |
Fast internet connection
Inserting the SIM card
Open the TC router SIM/UIM slot at the top of the device and insert the SIM card into the card holder.
Antenna installation
After installing the TK100, connect the antenna and screw the antenna tight. Place the antenna where a good signal strength is achieved.
 Note: Position and angle may affect signal strength.
Power supply
Connect the power supply included in the package to the device and check whether the LED display for “Power” lights up. Contact Welotec technical support if no indicator lights up. You can configure the TK100 when the power indicator is flashing.
Connecting
Connect the TK100 to the PC:
Connect the Ethernet cable of the TK100 to the PC.
Then one LED indicator of the RJ45 interface lights up green and the other indicators flash.
Connecting the TK router device to the PC for the first time
The TK100 router can assign IP addresses for the PC automatically. Set up the PC so that IP addresses are retrieved automatically via DHCP. (Basis is the Windows operating system):
Open the Control Panel, double-click the “Network and Sharing Center” icon to open the “Network and Sharing Center” screen.
Click “LAN Connection” and open the “Status of LAN Connection” screen:
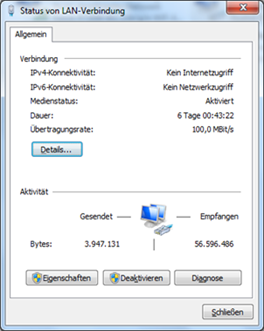
Click “Properties” and open the LAN connection properties screen:
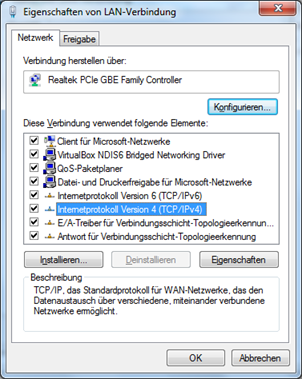
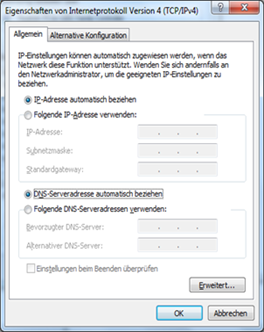
Select “Internet Protocol Version 4 (TCP/IPv4)”, click the “Properties” button, and check if your PC can obtain IP and DNS address automatically. (You can also set up the PC in the subnet: 192.168.2.0/24, e.g. IP: 192.168.2.10, netmask: 255.255.255.0, default gateway: 192.168.2.1)
By clicking “OK”, the TK router assigns an IP address to the PC: 192.168.2.X, and the gateway: 192.168.2.1 (the default address of the TK100).
After configuring the TCP/IP protocols, you can use the ping command to check whether the connection between the PC and the router is established without errors. The following is an example of running the ping command under Windows 7 :
Windows key+R -> enter “cmd” -> Enter key -> enter “Ping 192.168.2.1” -> Enter key For this display:
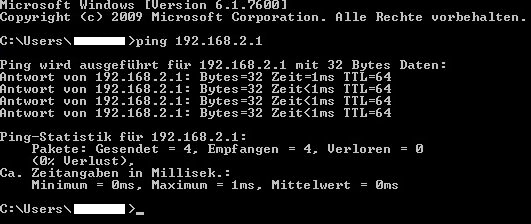
The connection between the PC and the router has been established correctly.
In the following example there are errors:
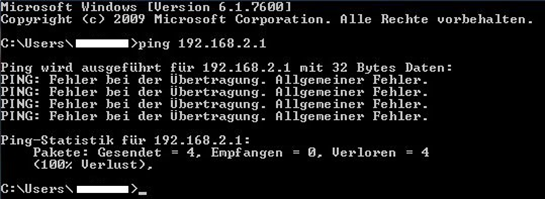
The connection is not working properly and you should go through the instructions again and check your settings.
Configuring the TK100 (Optional)
After you have performed the steps described in the previous chapter, you can configure the router:
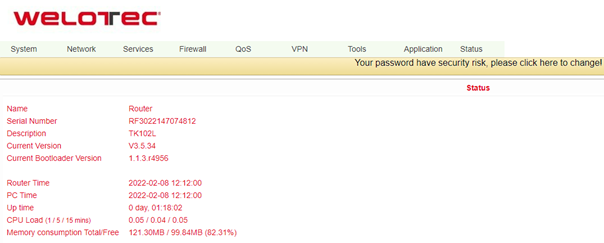
Open any Internet browser (e.g. Google Chrome) and enter the default IP address of the router: [http://192.168.2.1*.*] The following login page opens:

Enter the user name (default: adm) and password (default: printed on the device label), and then click “Login” to open the configuration screen.
If you want to set your own IP for the router: Click Network >LAN.
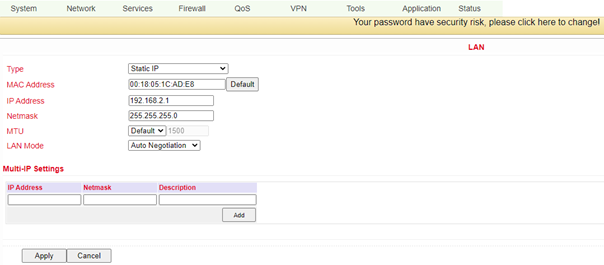
Change the IP address to 192.168.1.254, for example.
Click “Apply” and the following screen will be displayed:
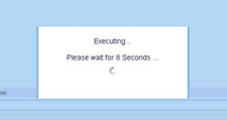
The IP address of the TK100 has been changed. So that you can now access the configuration page again, the PC must be set up in the same subnet, for example: 192.168.1.10/24 – Then enter the changed IP address (192.168.1.254) in your browser.
Connecting the TK router to the Internet
Perform the following configuration steps to establish a connection between the TK100 and the Internet.
Click Network > Cellular, and enable the function with Enable:
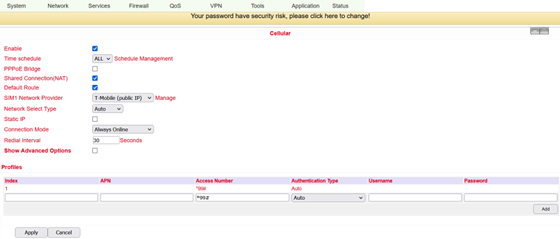
Check the entries and select a preset network provider under SIM1 Network Provider, or add a self-created profile of a provider:
You can obtain the APN, dial-in number, user name and password from your local network provider. Ask them for the details.
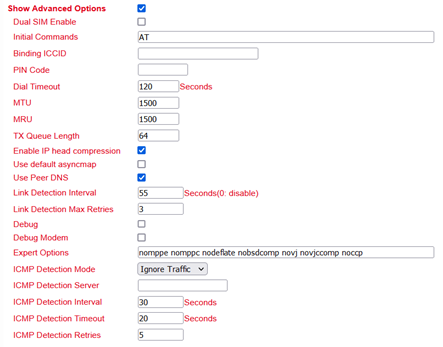
Via Show Advanced Options you can make further settings, such as the PIN code if it is set on the SIM card.
If you have set the correct configuration, the TK100 can now connect to the Internet. Open an Internet browser, type “[www.welotec.com][www.welotec.com]” and the Welotec website will open.
Reset to factory settings
Hardware method
 = LED leuchtet
  = LED leuchtet nicht
  = LED blinkt
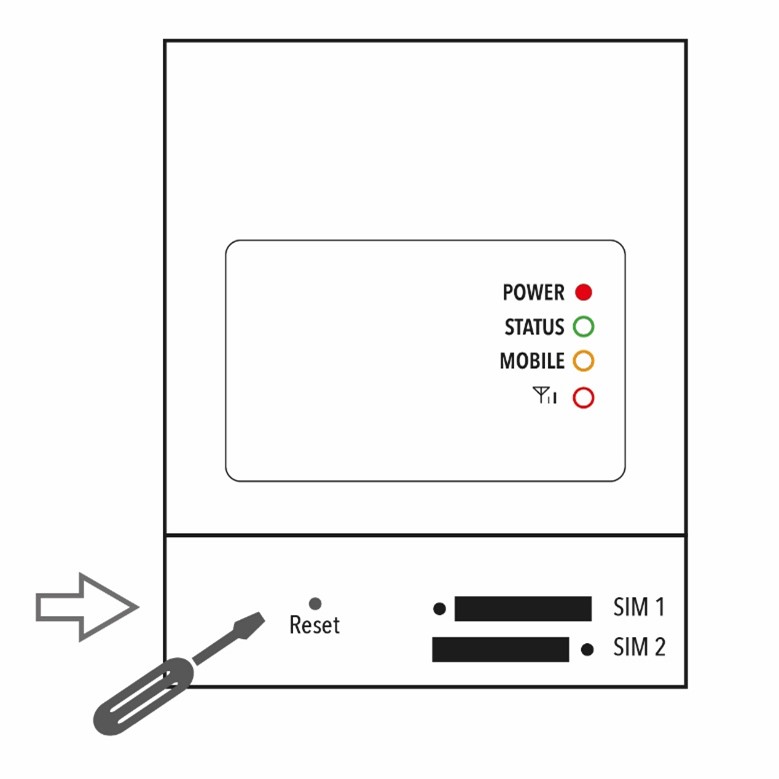
Press the RESET key while turning on the TK100:
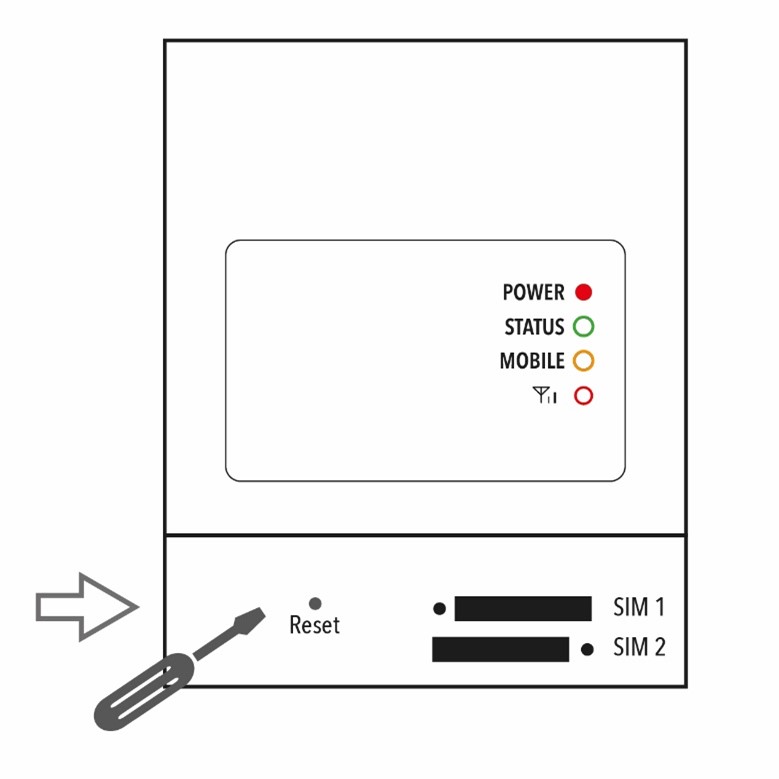
As soon as the Status LED lights up (approx. 15 seconds after switching on), release the RESET button:
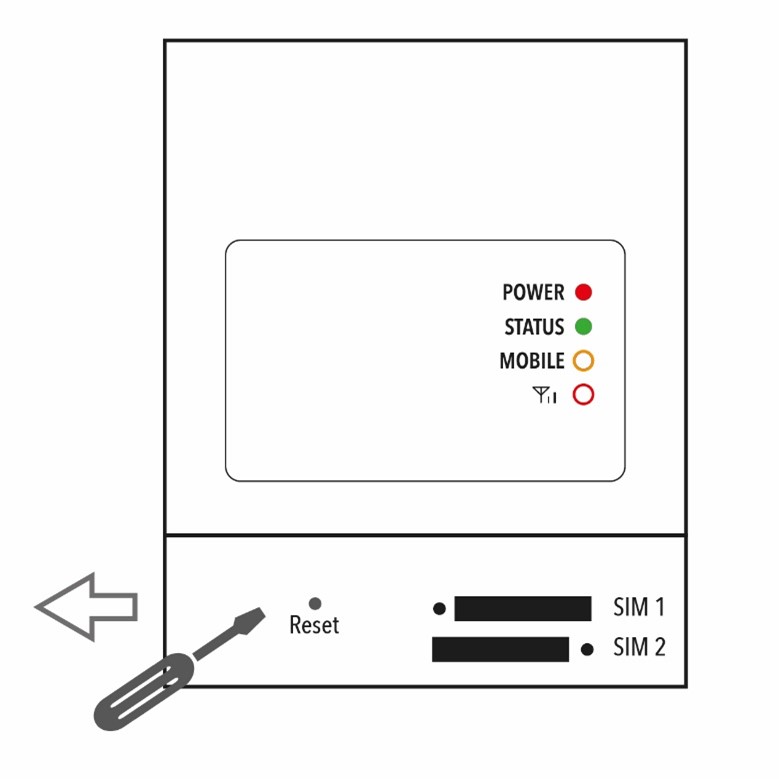
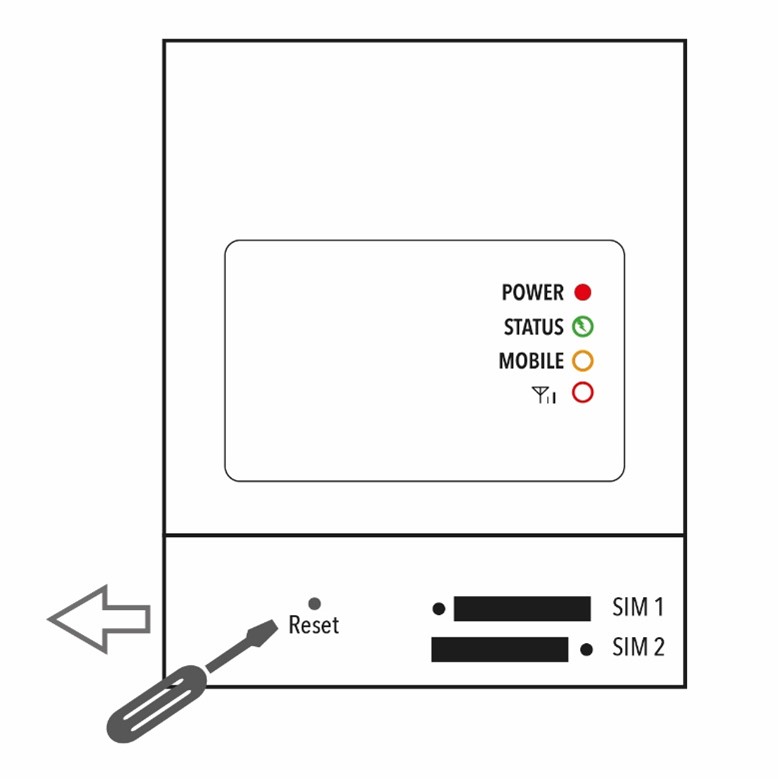
After a few seconds, the Status LED light will stop glowing. Now press the RESET button again:
The Status LED light will then flash, indicating that the reset to the default setting was successful.
Web method
1.) Log in to the TK100 web-based user interface and select System > Config Management:
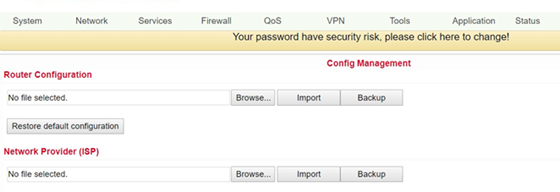
2.) Click Restore default configuration to reset the TK100 to its factory settings. After that the router will be rebooted.
Factory default settings:
IP: 192.168.2.1
Netmask: 255.255.255.0
Username: adm
Password: (printed on the device label)
Serial Parameter: 115200-N-8-1